- 0755-21675213
- acdrive@micno.com.cn

2023-04-20
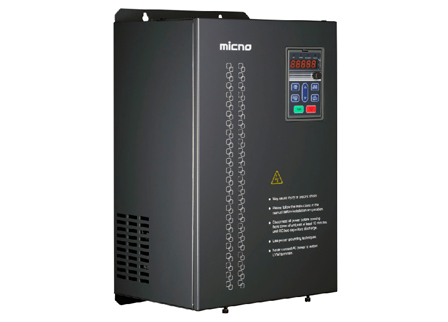
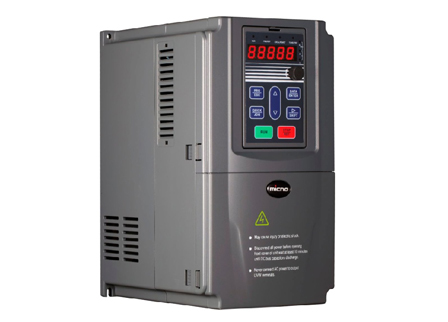
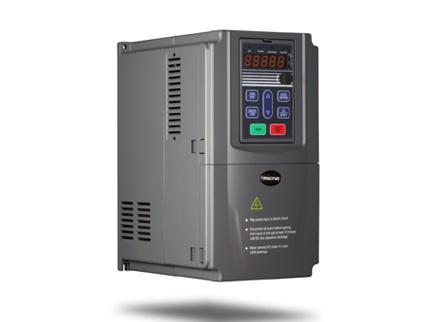
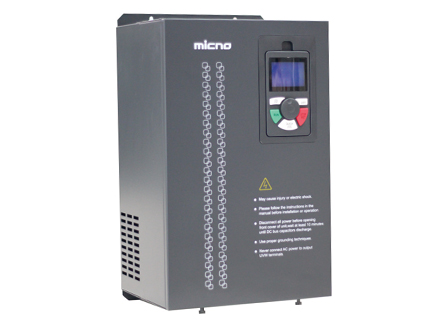
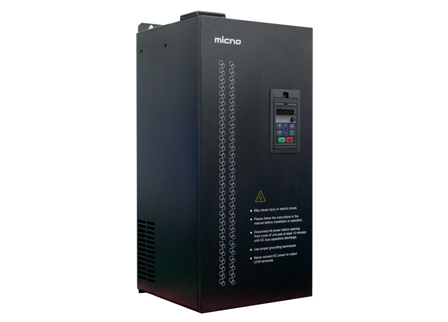
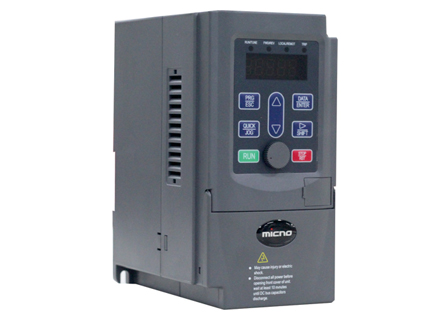
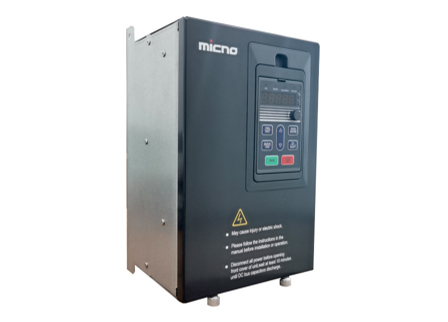
Are you considering harnessing the power of the sun to pump water efficiently? Installing an MPPT solar pump inverter is the key to achieving this goal. By utilizing the latest Maximum Power Point Tracking (MPPT) technology, these inverters optimize the energy output of solar panels, ensuring the most efficient conversion of sunlight into usable power for water pumping. In this article, we will guide you through the installation process of an MPPT solar pump inverter, allowing you to tap into the benefits of solar-powered water pumping.
Before you begin the installation, it is essential to gather all the necessary components. You will need the MPPT solar pump inverter, solar panels, a submersible pump, cables, and mounting structures for the solar panels. Ensure that the inverter and other equipment are compatible and meet the requirements for your specific water pumping needs.
Step 1: Mounting the Solar Panels
The first step in installing an MPPT solar pump inverter is to mount the solar panels in a location that receives ample sunlight throughout the day. The panels should be angled appropriately to maximize solar exposure and minimize shading. A mounting structure or rack can be used to securely position the panels. Follow the manufacturer's instructions for proper installation and ensure that all connections are secure.
Step 2: Connecting the Solar Panels to the Inverter
Once the panels are mounted, it's time to connect them to the MPPT solar pump inverter. Locate the DC input terminals on the inverter and connect the positive (+) and negative (-) cables from the solar panels. Make sure to follow the correct polarity to avoid damage to the inverter. Use appropriate connectors and ensure tight connections.
Step 3: Connecting the Submersible Pump
After connecting the solar panels, it's time to connect the submersible pump to the MPPT solar pump inverter. Locate the AC output terminals on the inverter and connect the pump's power cables. Again, pay attention to the correct polarity and secure the connections properly. Ensure that the pump is compatible with the inverter's power output and follow the manufacturer's guidelines for the pump's installation.
Step 4: Grounding the System
Proper grounding is crucial for the safety and efficient operation of the MPPT solar pump inverter system. Follow local electrical codes and guidelines to ensure compliance. Connect the grounding wire from the inverter to an appropriate grounding point, such as a grounding rod or the electrical grounding system of your property.
Step 5: Testing and Commissioning
With all the connections made, it's time to test and commission the MPPT solar pump inverter system. Ensure that all switches and breakers are in the correct positions and turn on the power supply. The inverter should start up and begin converting solar energy into electricity to power the submersible pump. Monitor the system's performance, including the voltage, current, and power output, to ensure it is functioning optimally.
Installing an MPPT solar pump inverter opens up a world of possibilities for efficient water pumping using solar power. By following the step-by-step installation process outlined in this article, you can tap into the benefits of renewable energy and enjoy cost-effective and sustainable water pumping solutions. Remember to mount the solar panels correctly, make secure connections between the panels and the inverter, connect the submersible pump, and ensure proper grounding. With a successfully installed MPPT solar pump inverter system, you can harness the power of the sun to meet your water pumping needs reliably and efficiently.
 English
  français
  Español
  русский
  português
  العربية
  tiếng việt
  ไทย
ไทย  中文
中文


 About MICNO
  Applications
 Construction Machinery

 Textile Machine
 Company News